
I first began by trying to gather a style for the flash animation by first listening to the people as and jotting down ideas as I went along. I focused mainly on the eyes and the mouth as I knew they would be the symbols i will be focusing on animating the most. I went through some quick thumbnails in my sketchbook of all the kind of concepts i wanted to cover for the animation. Once I had all my ideas gathered I decided to concentrate on three ideas and see which one worked the most by taking the characters further. These included the idea of talking shoes, a boy and a girl sitting in a park and talking mushrooms. 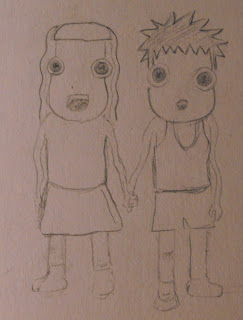 I decided to take the aspect of mushrooms further because this is a lip syncing project and since I am very unfamiliar and new to flash, I opted to choose a character that doesn't have any limbs to animate. This way I could focus on the narrative animated aspects of the eyes and the lips. I chose the mushrooms over the shoes, as the mouth of the shoes would just flap up and down and wouln't really be apropriate for this exercise. I went back to the sketchbook and came up with the following designs:
I decided to take the aspect of mushrooms further because this is a lip syncing project and since I am very unfamiliar and new to flash, I opted to choose a character that doesn't have any limbs to animate. This way I could focus on the narrative animated aspects of the eyes and the lips. I chose the mushrooms over the shoes, as the mouth of the shoes would just flap up and down and wouln't really be apropriate for this exercise. I went back to the sketchbook and came up with the following designs: This character was a male, and the placement on the mouth was tried at the top before it was placed on the stem.
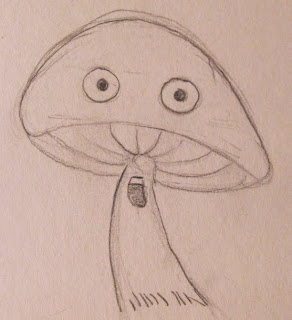
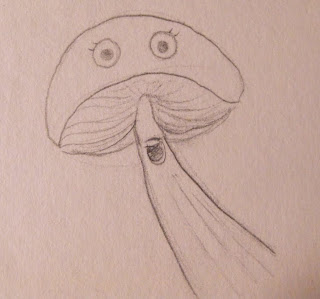
I felt that the eyes were the most prominent feature, so I focused on adapting each pupil differently in each character design, some were big others were small, again gathering inspiration from the voices of the people.
 After I had an array of designs I took one into illustrator first because I am a bit more familiar with the software. I decided to work in black and white at first because I wasn't sure what colours to use for the mushrooms themselves.
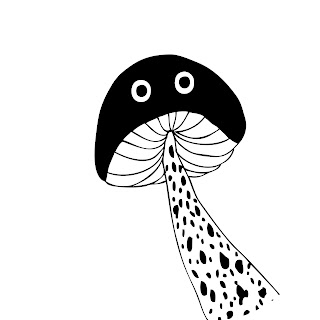 I am still not sure about the colours I have chosen for this character however since it will be in flash I have the option of changing them quickly if I feel the need to. The mouth is not included in this exported flash image as there are multiple symbols (as there are for the eyes as well, such as eyes with eyelids to show sarcasm, anger, etc) as it is a component that is changeable as it Will be animated.
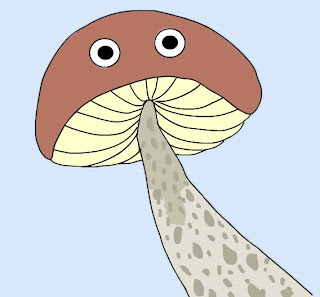
The process is the same for the other drawn mushroomed characters, (for the two girls) but for some strange reason Blogger is not working properly and is not letting me post more images as it has frozen, but I will add them and edit this post as soon as I am able to.
